Most ladies I know would jump at the chance for a pedicure any minute of the day, every day of the week. Who doesn’t want to spend some time (mostly) alone, sitting in a chair, getting their feet massaged and scrubbed and polished? Well, me. This didn’t used to be me but the last few times I ended up in a nail salon it was to get my hands done, not my feet.
Why, you might ask, would you pass up this delightful past time? Because the last 4 times, all at 4 separate nail salons, it wasn’t such a delightful experience. First point being is that my feet are very ticklish. Secondly, I have a very sensitive right foot since a Econo-sized bottle of laundry detergent was dropped on my foot a couple years ago. (No matter how much you tell someone to be gentle, it hasn’t been successful yet.) Third, the cutting of the cuticles on my feet gives me the heebs. Sooooooo…I do my toes at home, myself, just like when I was a kid. And I like it.
So for all you gals that have the same issues…
I’m going to share some of my home pedicure secrets and products for you to use.
First of all, I’m not a big fan of recipe blogs that have a million pictures and lots of in between commentary before you actually get to the recipe supplies list and actual instructions. Therefore, I won’t make you scroll through a bunch of stuff for this Home Pedicure Recipe.
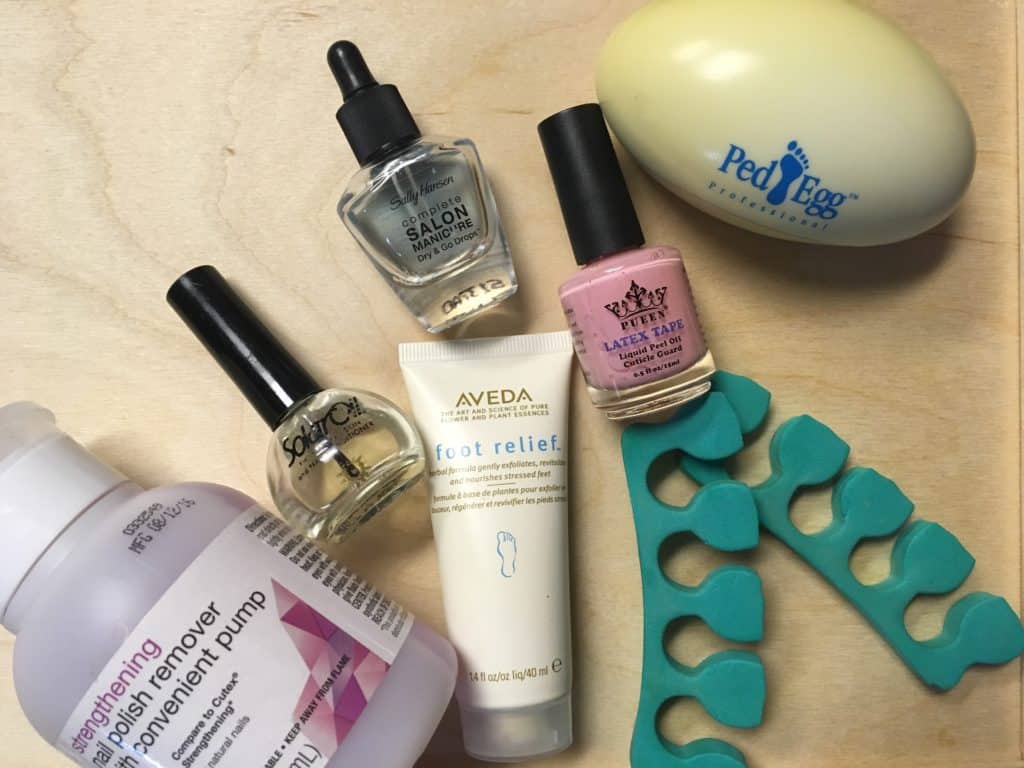
Here’s my supplies I start with THE DAY BEFORE I paint my toenails and use them in this order:
- Up & Up Strengthening Nail Polish Remover with convenient pump – remove any old nail polish
- Ped Egg Pedicure Foot File
– worth every penny; scrub the dead skin off at the speed and pressure you want
- Creative Solar Oil & Cuticle Treatment
– brush onto all cuticles and let sit for 15 minutes
- AVEDA Foot Relief Lotion
– again, worth every penny; massage into feet and nails and let soak
The next day, I’m ready to do my nails and I use these items:
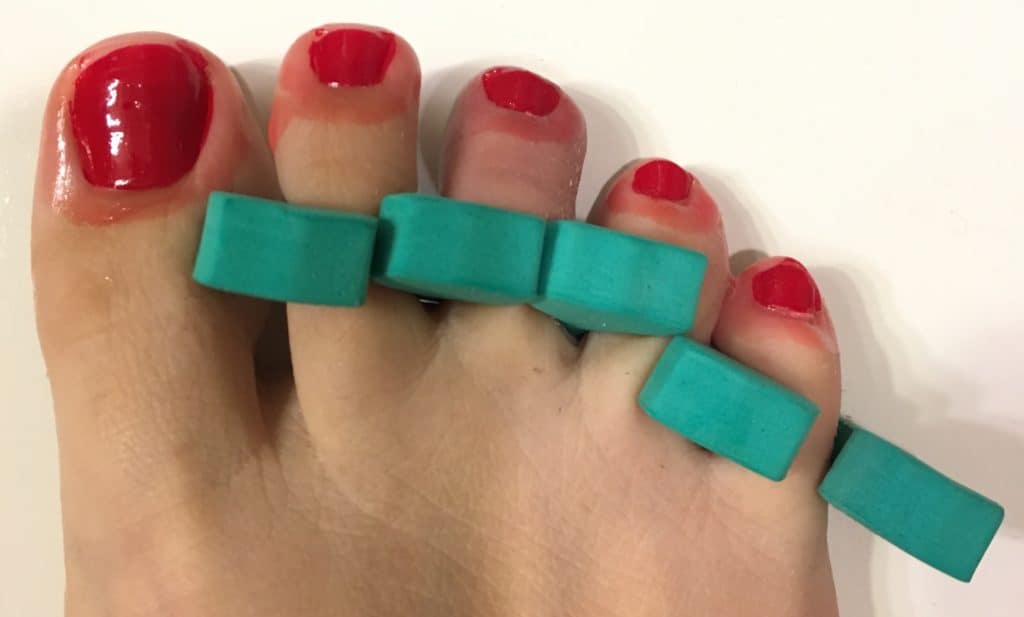
- Pedicure Toe Separators
– use these so nail polish doesn’t get all over the place
- PUEEN Latex Tape Peel Off Cuticle Guard
– THIS IS A LIFESAVER with at home pedicures. Nail polish stays on your nails and not on the skin around them. No need for q-tipping with nail polish remover and accidentally smudging the nail when you use this stuff. Smells a little funny and of course, if you have a Latex allergy it’s not a good choice. Paint this around each toenail on all sides, staying away from getting it on the nails (use the included stick to help wipe off if you do). Let this fully dry- it will become a brighter pink when dry & will be removed in the final step. (see photo below)
- OPI Start to Finish Original Formula
– One coat of this on each nail and let dry, I wait 5-10 minutes. They also have a Formaldehyde-Free option
now too.
- OPI Nail Lacquer
– One coat and let dry 10 minutes then do a second coat and let dry 10 minutes. I love OPI nail polish best for two reasons: the color lasts longer than other polishes and the wide brush. I will try others and always go back to my OPI colors.
- Add a top layer of the OPI Start to Finish
and let dry 1 minute and add two drops of Sally Hansen Complete Salon Manicure Dry & Go Drops
to each nail. Simply peel or rub off the PUEEN Latex tape
after 1 minute.
- Voila! Magical Home Pedicure!
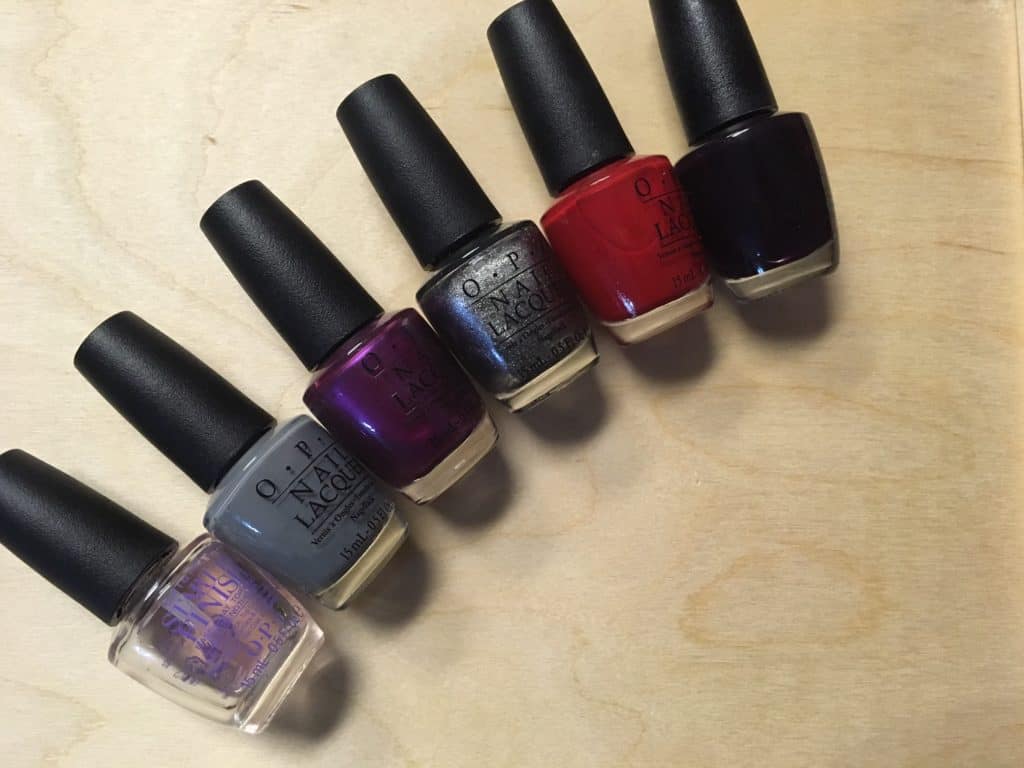
My favorite OPI Nail Lacquer colors are (in order from left to right in the photo below):
- Start to Finish clear coat
- Embrace the Gray
- Suzi & the 7 Dusseldorfs
- Haven’t The Foggiest
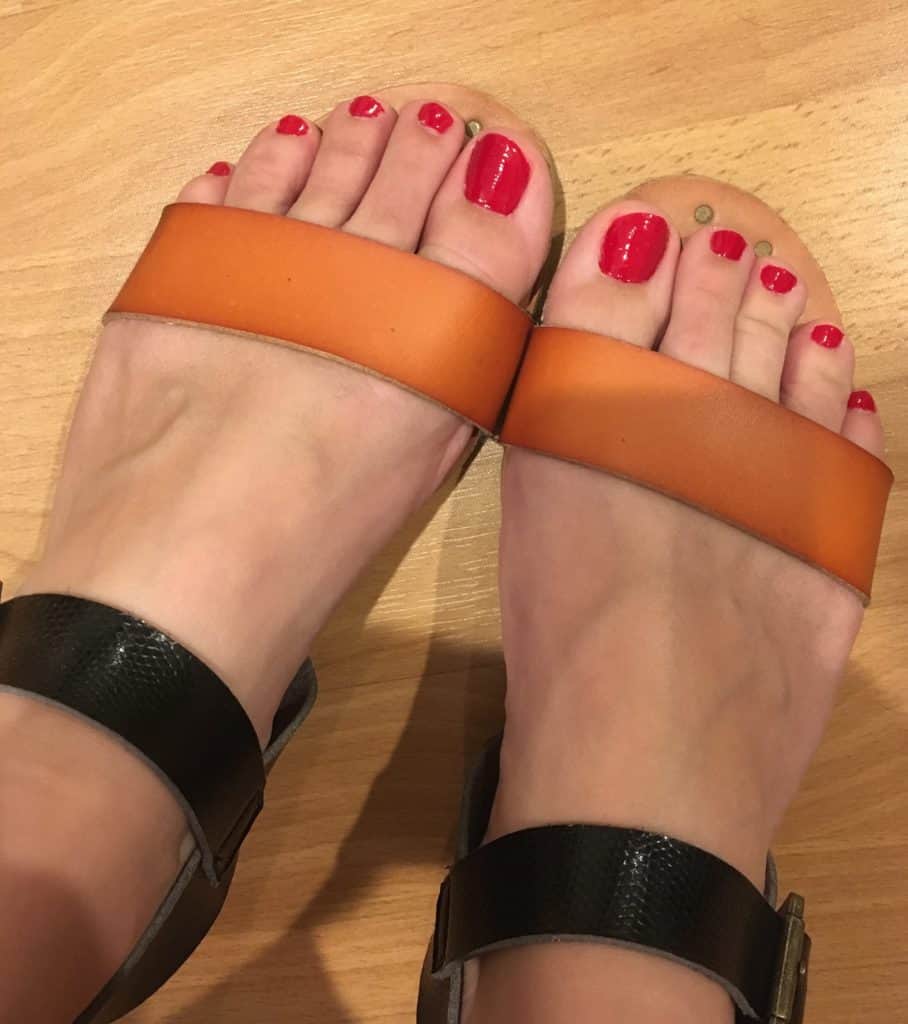
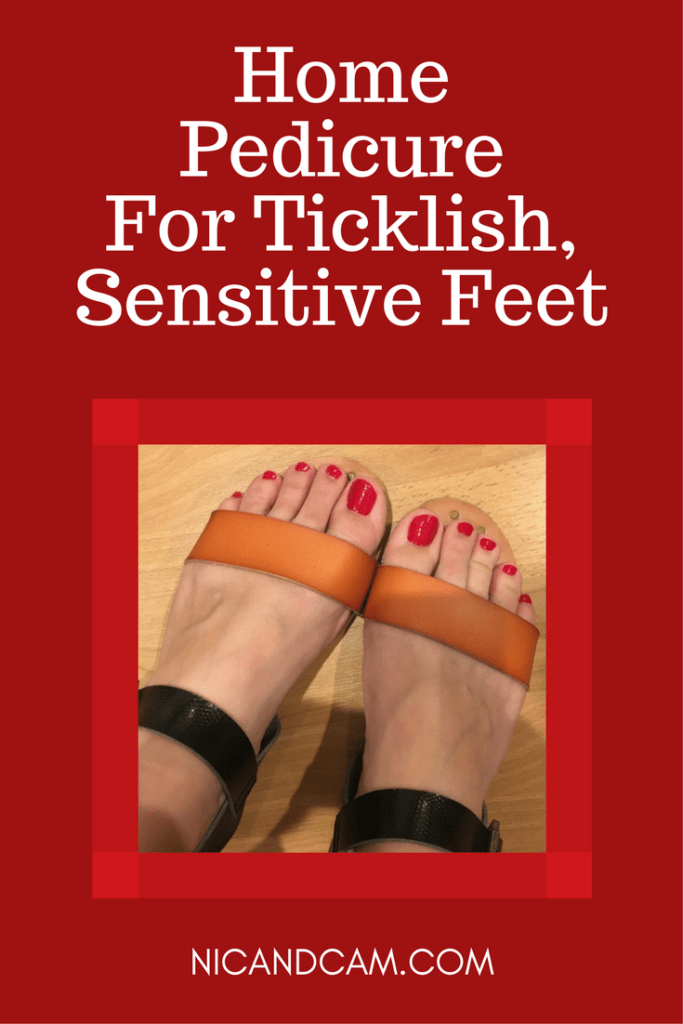
- Big Apple Red
(shown in pictures)
- Lincoln Park After Dark
(my spirit animal in nail polish form)
Do you have ticklish or sensitive feet? What are your tips and tricks for taking care of your feet at home? Please share in the comments below!
